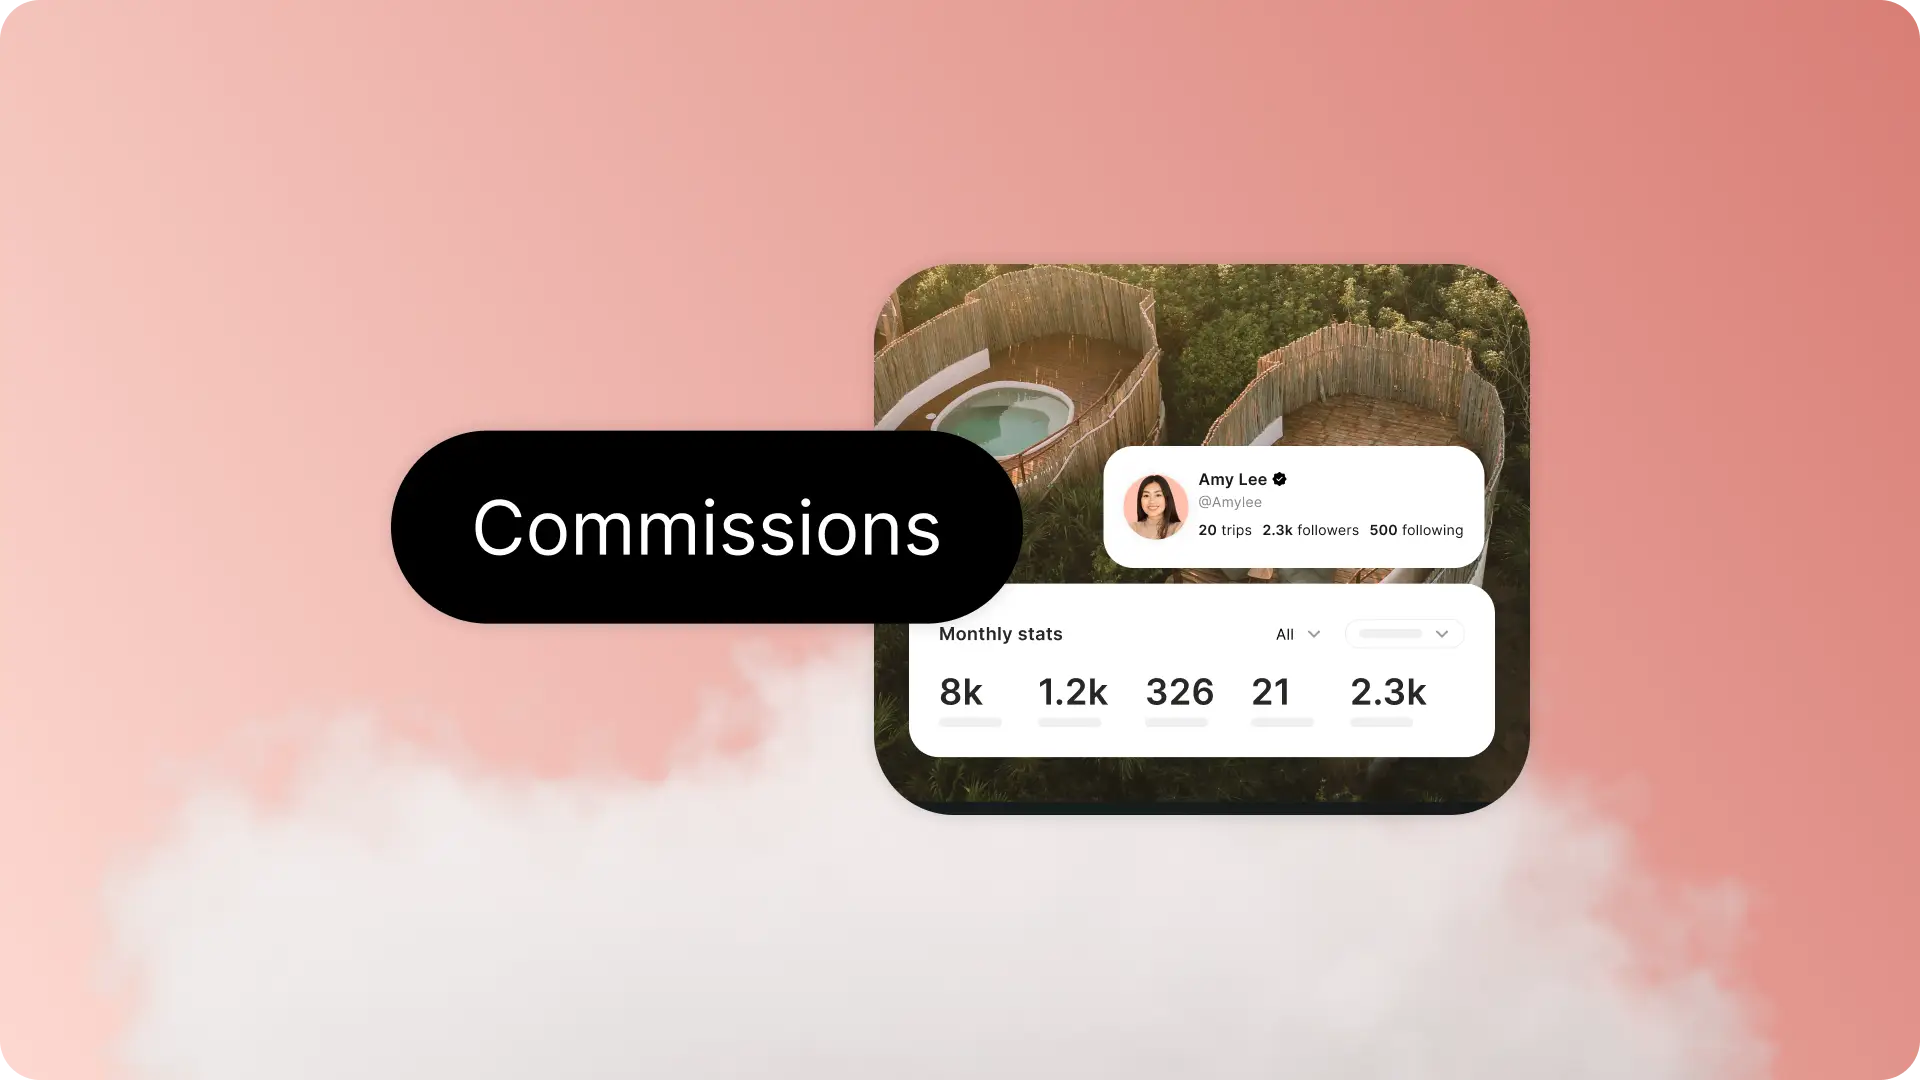
Turn your travel knowledge into guides people actually use and that you can earn from. Add your recs, upload your photos and videos, and make it unmistakably yours.
0:00 / 4:21
1) Open Your Dashboard
Log in to Mindtrip.ai to open your dashboard. From there, head to the “Create” tab to start editing, building and publishing your guides.
Click “Create a guide.”
Before you start, make sure a creator account is linked to your profile. If you’re not sure, reach out to your Mindtrip Success Manager and they’ll help you get set up
2) Choose How to Get Started
We offer three flexible ways to create a guide. Pick your adventure:
Start from scratch
Choose a location, add your recommendations and build it your way.
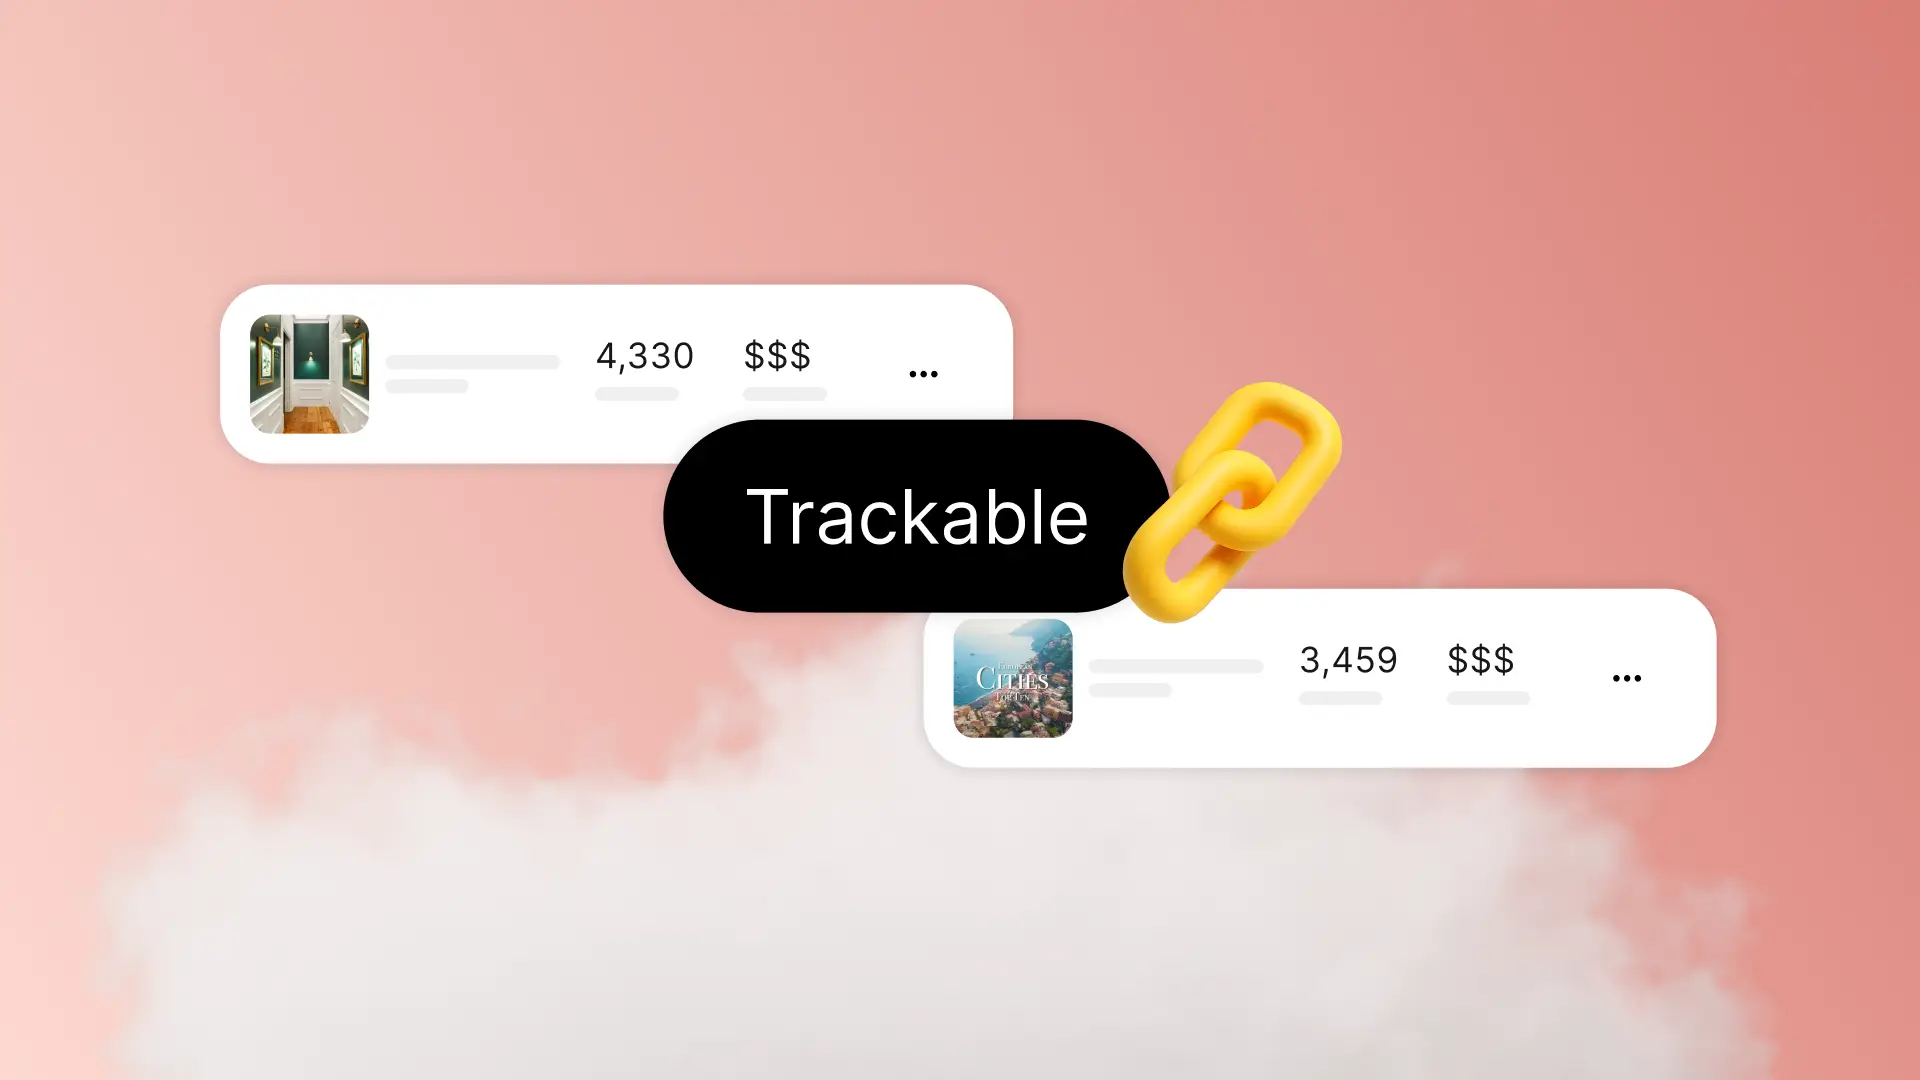
Start with a link
Got a travel blog, article or social post with your recs? Hoarding your favorite places in Google Pins? Drop in the link and we’ll pull in the details for you.
Start with a file
Upload a travel photo or a PDF of an existing guide, and we’ll turn it into something you can edit and customize.
3) Create & Edit Your Guide
Once you choose how you want to get started, you'll be dropped into a guide template where you can start editing.
You can edit the following sections within your guide:
- Guide title: Click directly on the page and type your title. Make it punchy.
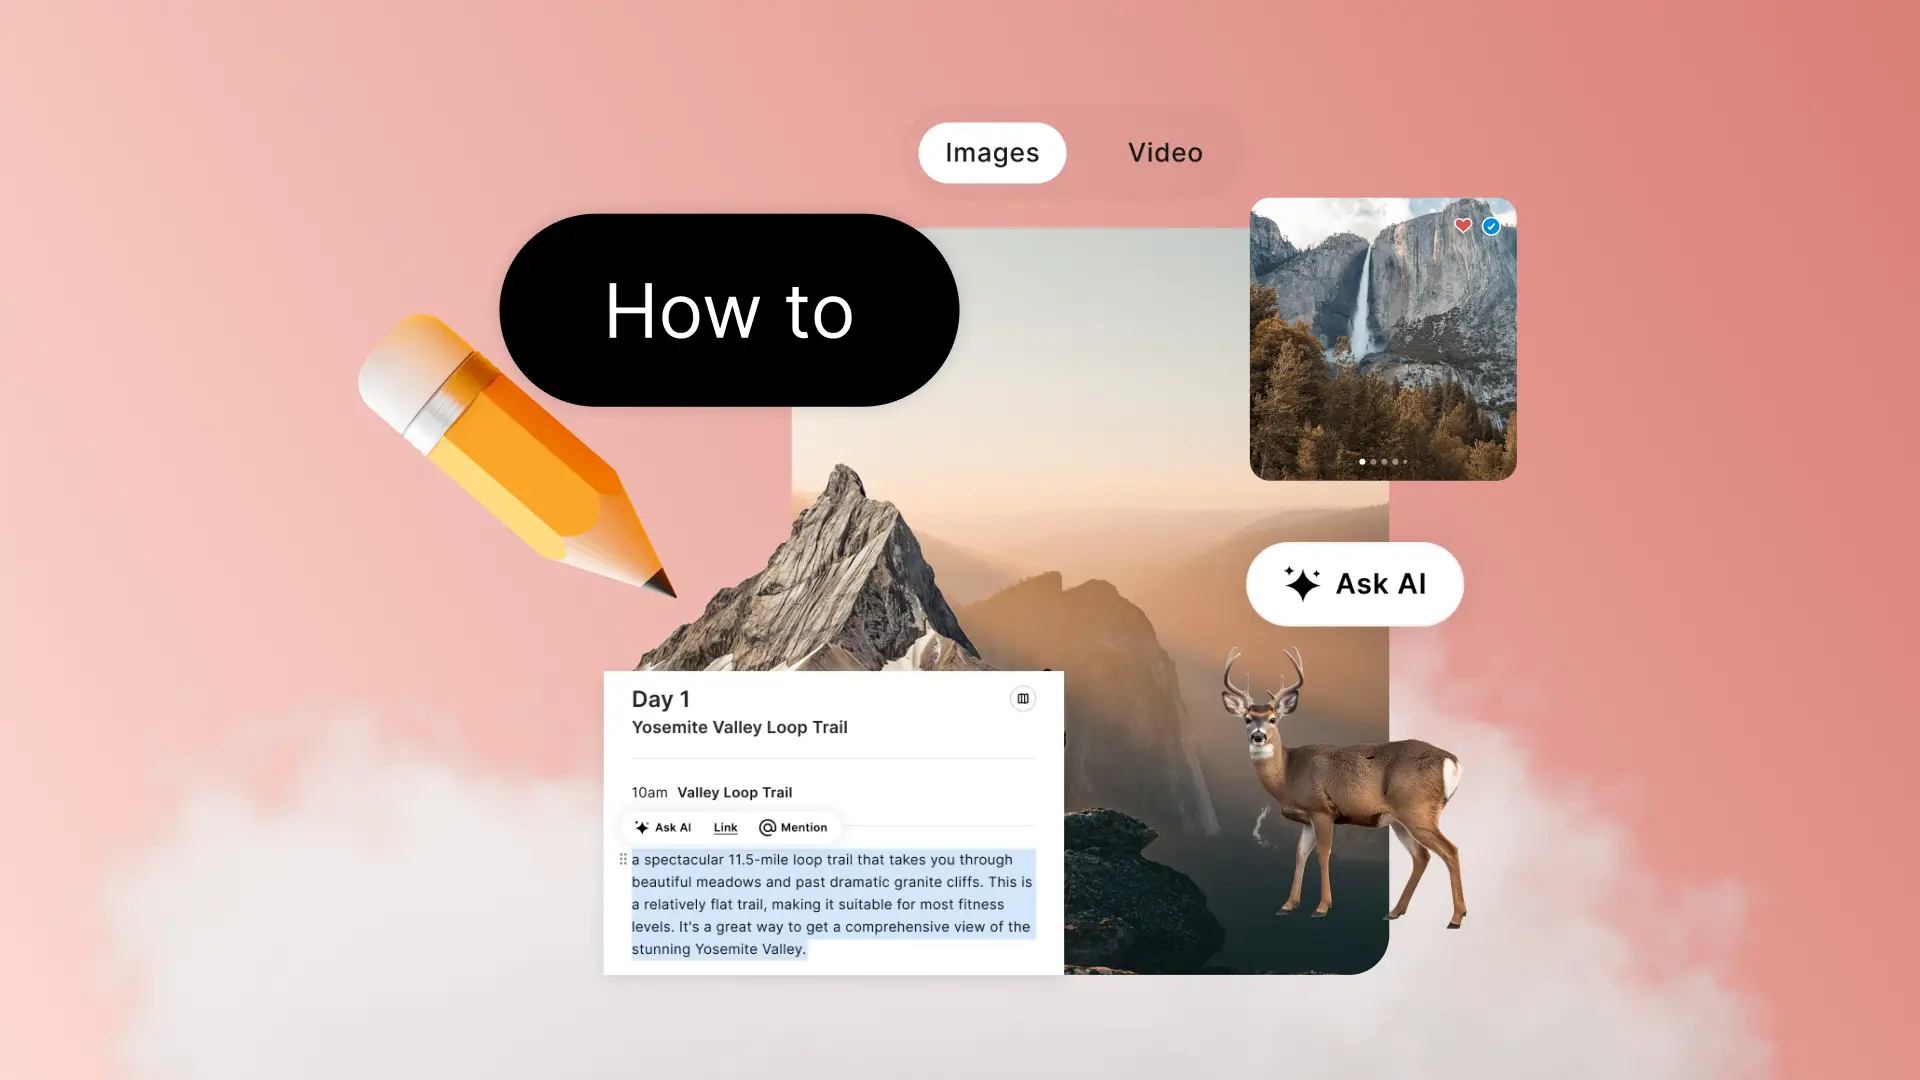
- Cover images: Hit "edit cover" in the top right of the hero image. You can feature a single image or go with a carousel. Choosing a carousel? Bulk upload your images, then drag and drop to arrange them. You can also pull from our image database. Just make sure you have the rights to any image you upload.
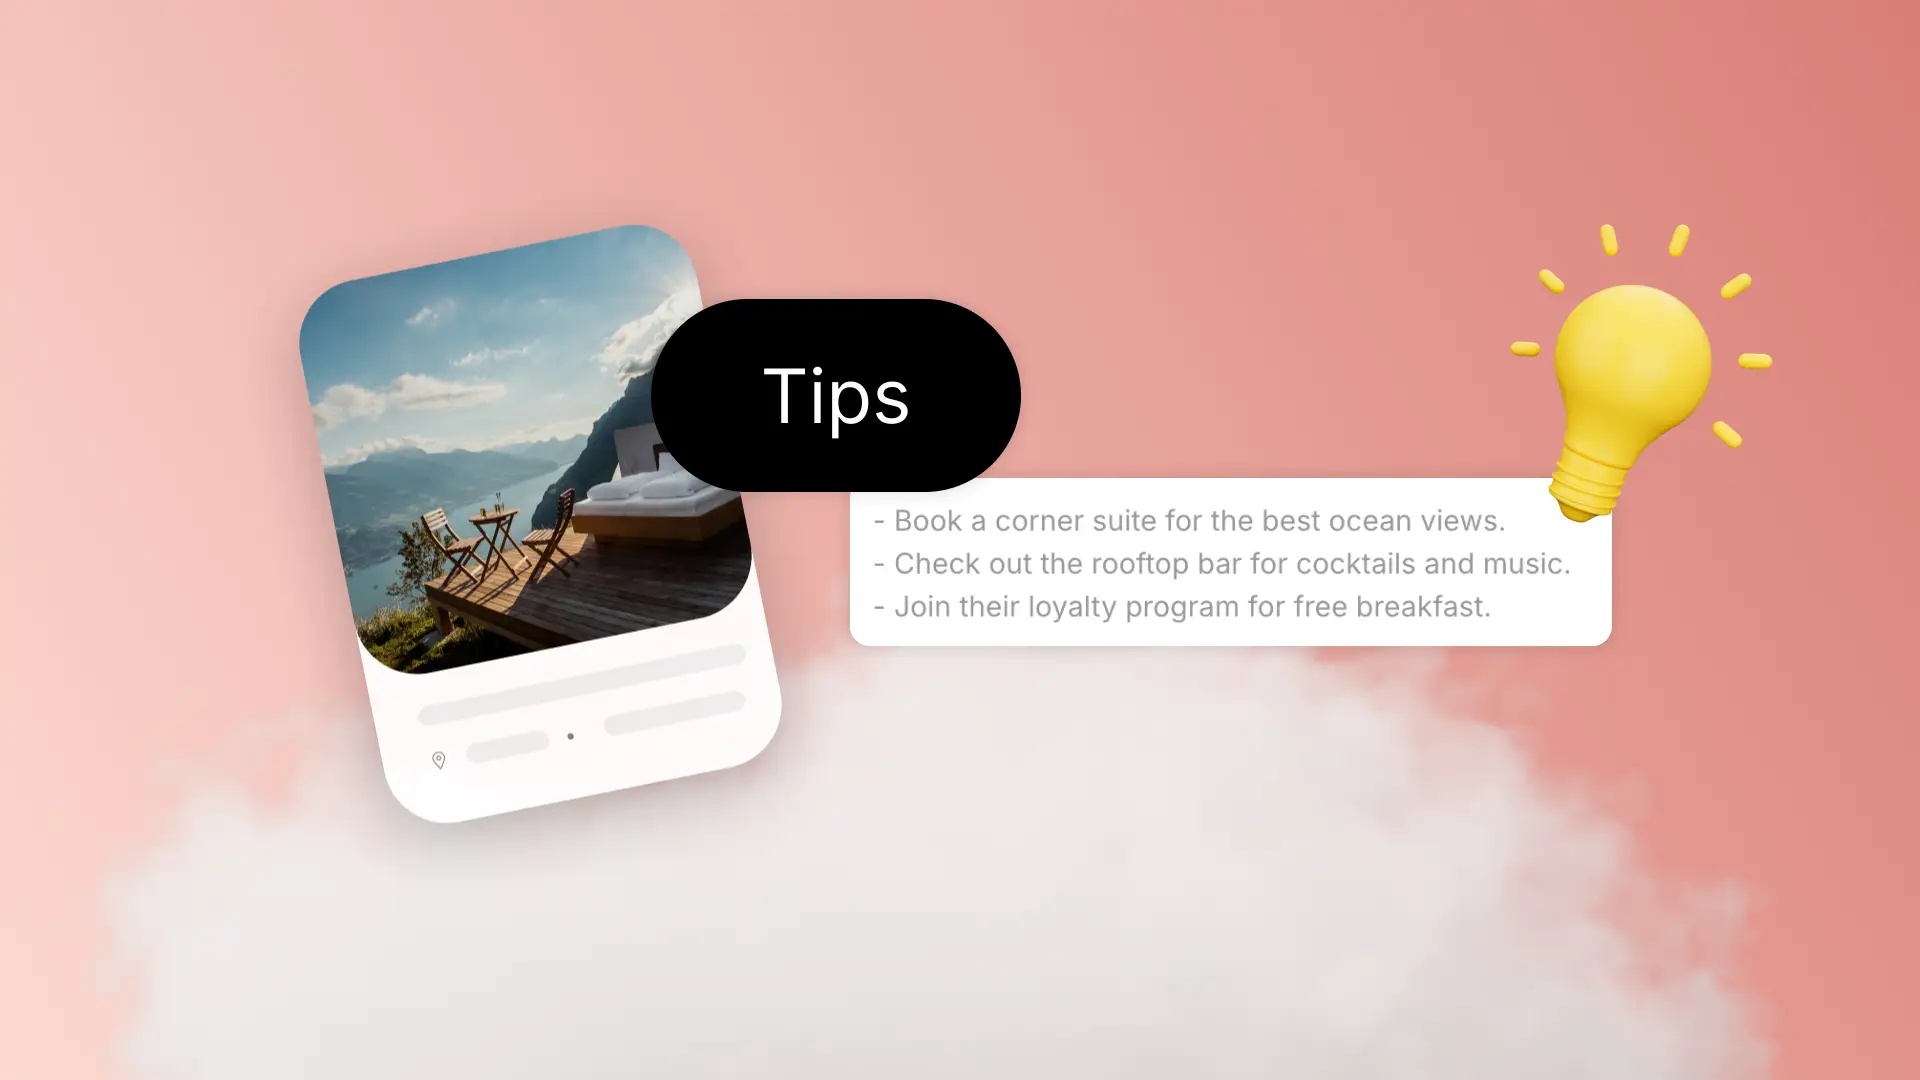
- Overview and place descriptions: Write your own descriptions or let our AI tool generate one to get you started, then tweak it to match your voice.
- Guide order: Use the outline to rearrange places. Click the three dots next to any place and drag and drop it wherever it belongs.
- Place images and rights: Click edit in the top-right corner of each place image to add your own photos or rearrange existing images. As a reminder, you should have licensing rights to any photo you upload.
- Image Credit: Give credit where it’s due. Select the image, then add the URL and the name of the person you’re crediting.
4) Publish your guide
When your guide’s ready for the world, hit “Publish” in the top-right corner. You’ll land on your dashboard, where you can see all your published guides and drafts in progress.
Need to make changes? Head back to the dashboard from the Create page, select your guide and start editing. Once it’s live, your guide stays dynamic, so any updates you make will automatically stick.